Pruning on the Costa del Sol: A Simple Rulebook for Common Shrubs
Pruning is not mainly about cutting more. It is about deciding what the shrub can afford to lose, what the garden gains from the cut, and what season gives you the lowest operational risk.
Most homeowners ask the same practical questions: when is pruning actually safe in a warm coastal garden, what should always come off first, how much shaping is reasonable for a non-specialist, and what turns a tidy-up into stress the plant did not ask for?
The useful answer starts with timing and plant behaviour, not enthusiasm. General pruning guidance from the University of Minnesota Extension and shrub-specific guidance from the Royal Horticultural Society point to the same principle: small, well-timed cuts are easier for woody plants to handle than late, heavy correction.
This guide gives you a simple rulebook for common shrubs on the Costa del Sol: why timing matters in a mild coastal climate, what tools and hygiene standards are worth the trouble, which cuts are usually safe, when to leave a shrub alone, how to handle spring versus autumn work, and what aftercare keeps a sensible prune from becoming avoidable stress. If you want broader service context after reading, start with the homepage or browse our seasonal updates in Gardening News.
The Quick Rulebook
If you remember only one section, make it this one. The safest routine for mixed ornamental shrubs is usually to remove what is clearly failing, keep the plant open enough for light and air, and stop before shaping turns into stripping. A shrub rarely benefits from decisive enthusiasm.
| What you see | Priority | Reasonable action | What to avoid |
|---|---|---|---|
| Dead wood | Highest | Remove back to healthy wood or to the branch origin | Leaving stubs that die back and spoil the shape |
| Diseased or obviously infected growth | High | Cut out promptly and clean tools before moving on | Working through the whole hedge with the same dirty blade |
| Crossing, rubbing, or inward-growing stems | Medium | Remove the weaker or worse-placed stem to improve airflow | Taking both stems and leaving a hole you did not plan for |
| Light shaping or size control | Last | Trim modestly after health cuts are done and only if the plant is vigorous | Removing a large share of live canopy in one session |
Why Pruning Timing Matters in Coastal Climates
Warm coastal gardens create a false sense of safety. Because the weather is milder than inland sites, it is easy to assume shrubs can be cut almost whenever they look untidy. Sometimes they can tolerate that. Often the cost shows up later in weak regrowth, lost flowers, exposed stems, or stress during the next hot spell.
The timing decision is really about recovery. On the Costa del Sol, shrubs may keep some level of activity across long parts of the year, but their ability to replace foliage, seal cuts, and handle heat still changes with season, watering, and overall vigour. A shrub pruned just before sustained heat or just before a cool, damp period may react very differently from the same shrub pruned during a milder recovery window.
General guidance works better here than pretending every shrub follows the same calendar. As a broad rule, remove dead, broken, or clearly diseased growth when you see it. Do structural thinning or stronger correction when the plant has the best chance to recover without immediate heat stress. Do flowering-related pruning with care, because some shrubs bloom on older wood and some on newer growth. If you do not know which kind you have, caution beats speed every time.
That is the business case for conservative pruning: you are trying to reduce future correction work, not win this afternoon’s tidy-up contest. A shrub that keeps its leaf cover, branching structure, and seasonal rhythm usually needs fewer emergency interventions later.
Terms Worth Knowing Before You Start
You do not need formal horticultural language to prune well, but a few terms make better decisions easier.
- Dead wood: stems or branch tips that are no longer alive and will not recover.
- Diseased wood: growth showing clear infection, dieback, or abnormal damage that should not remain in the canopy.
- Crossing stems: branches that rub, crowd, or grow inward in ways that damage bark or reduce airflow.
- Thinning cut: removing a stem back to its point of origin or to a larger side branch to open the plant naturally.
- Heading cut: shortening a stem partway along its length, which often pushes new growth below the cut.
- Old wood versus new wood: a simple way to think about where flowering buds may be carried from one season to the next.
These distinctions matter because the same shrub can react differently depending on which kind of cut you use. A thinning cut usually reduces crowding without making the outline look abruptly chopped. A heading cut can be useful for light shaping, but repeated heading on the same line often creates dense outer growth and a congested interior. That is why many shrubs end up looking trimmed from the path while slowly declining from inside the framework.
If you are unsure how a shrub flowers, or whether a stem is important to the display, treat the first session as diagnosis rather than total correction. Remove only what is clearly dead, clearly diseased, or clearly rubbing. Then watch how the shrub responds across the next active growth period. That simple pause often tells you more than any rushed attempt to impose order in one afternoon.
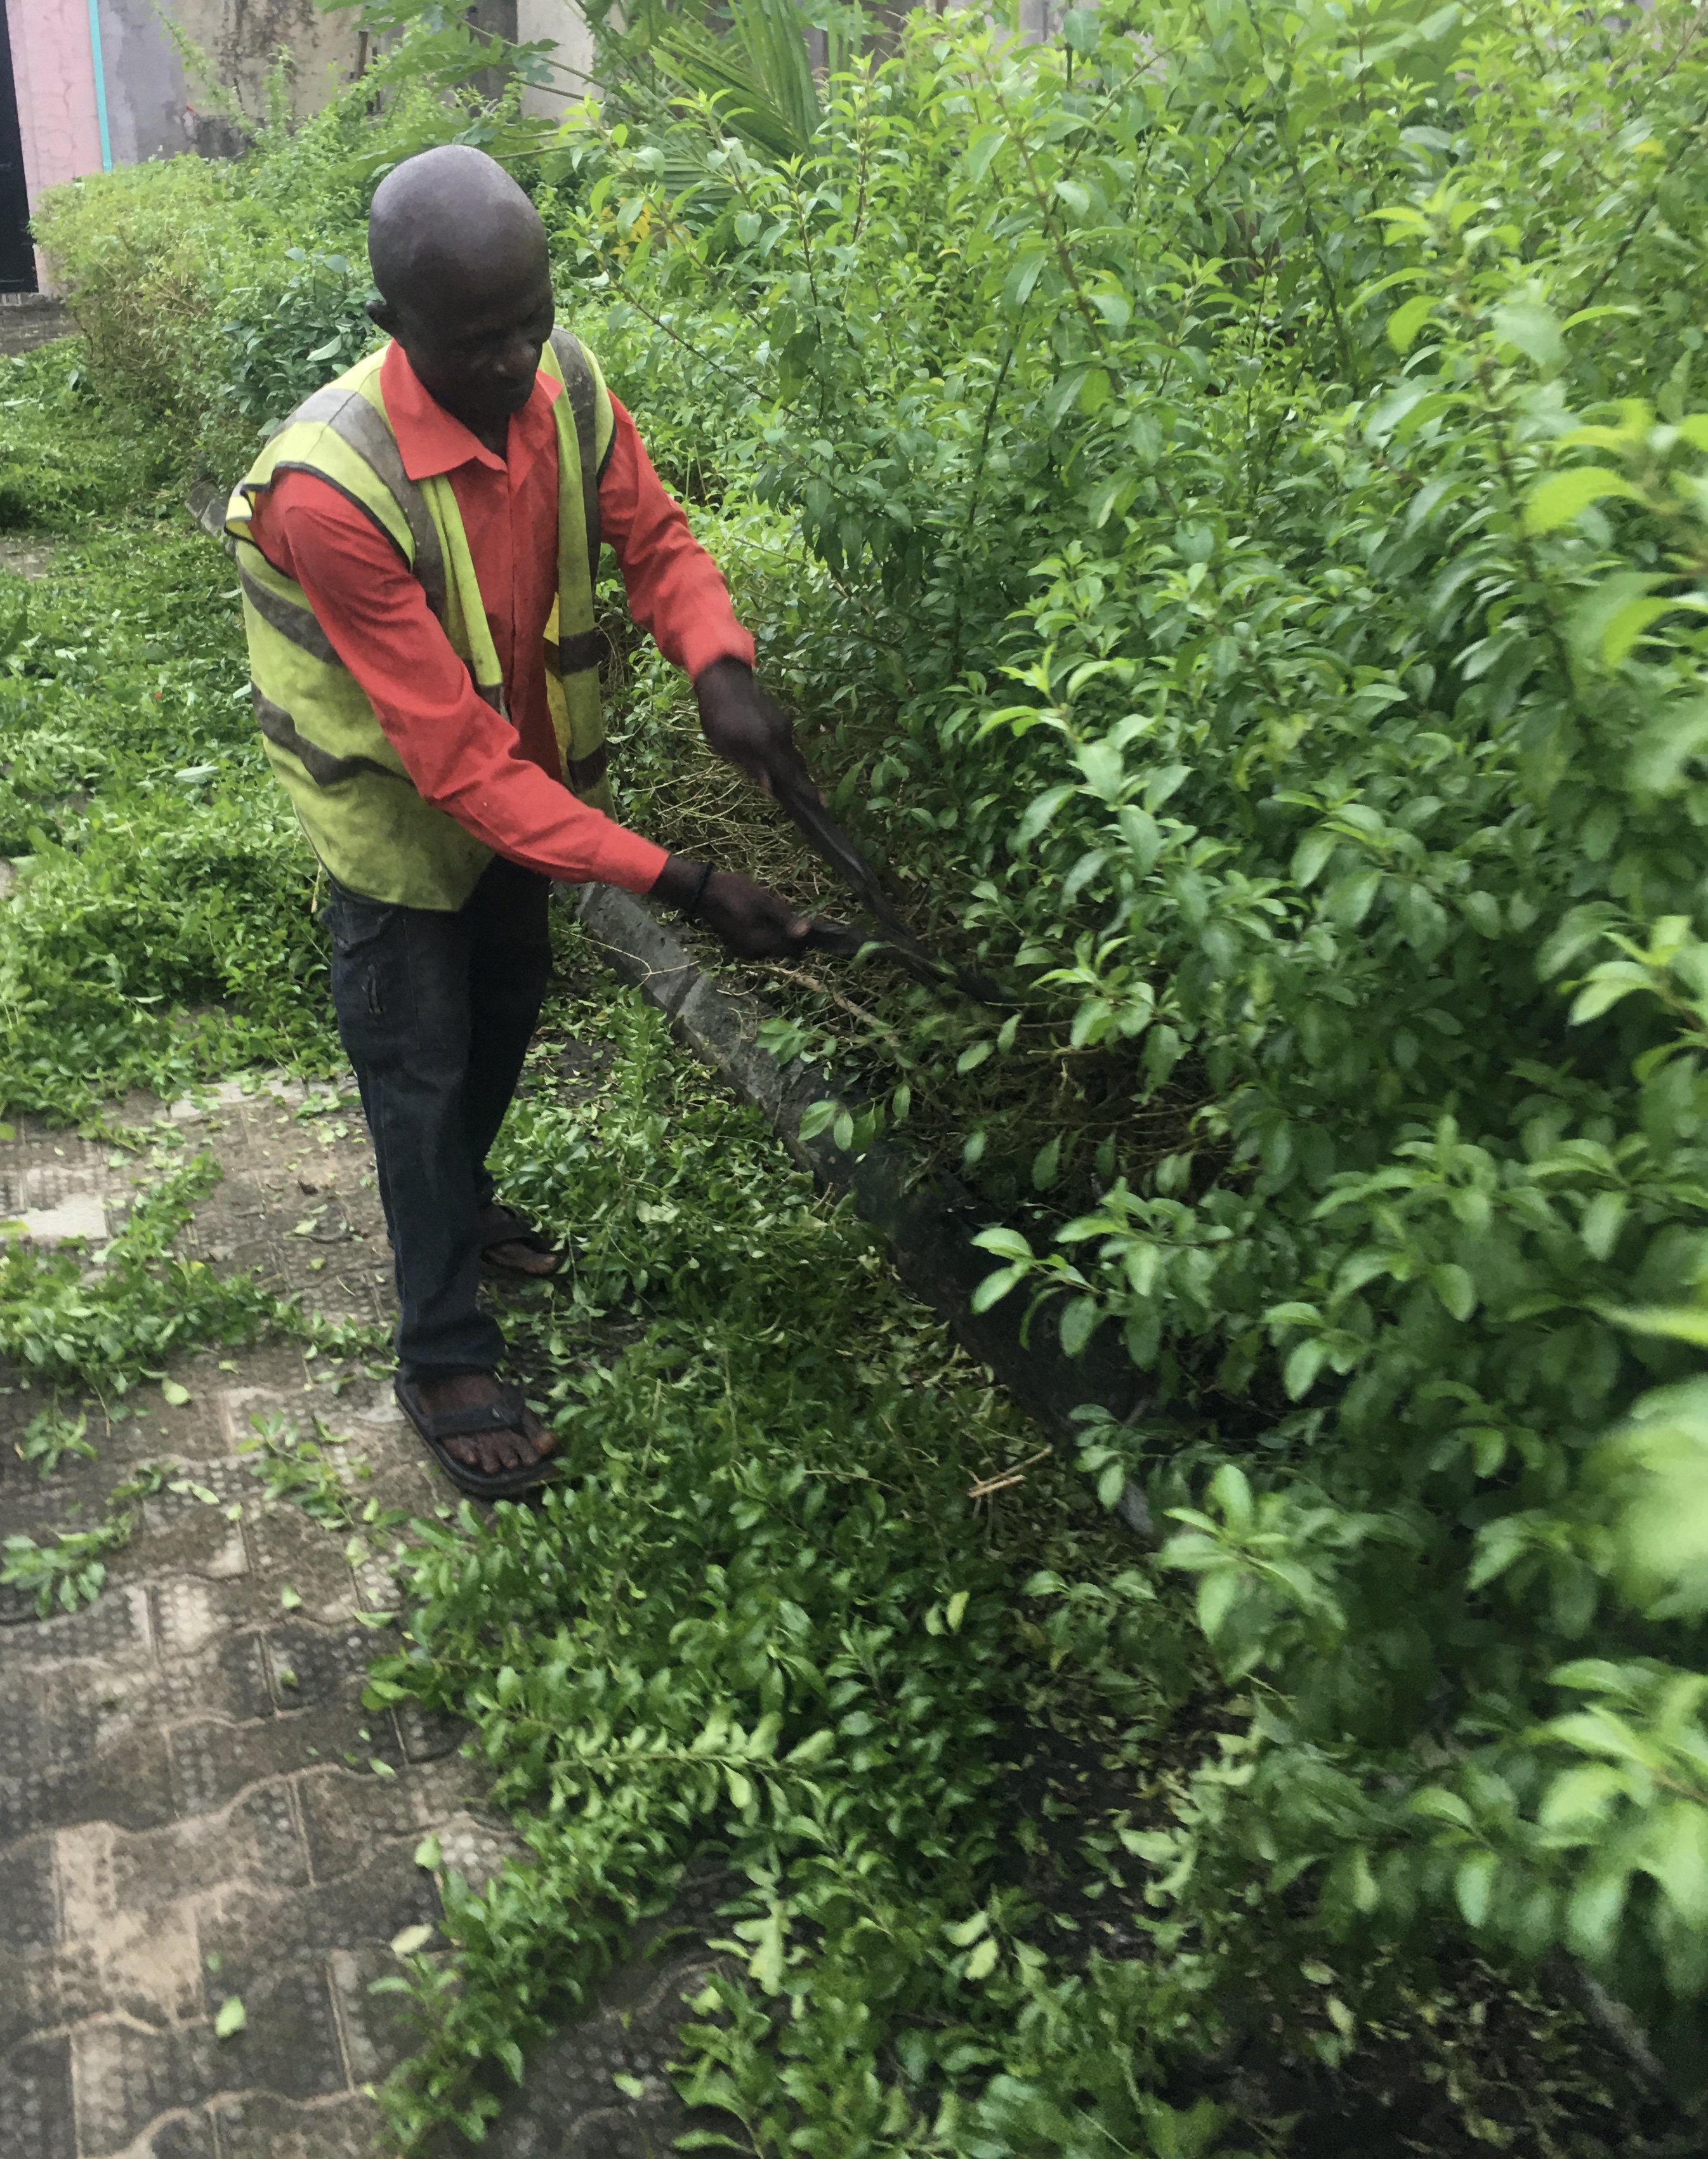
Tools and Basic Safety
Good pruning begins with ordinary tools used well: hand pruners for small stems, loppers for thicker wood, and a pruning saw when you are beyond what hand pressure can cut cleanly. The rule is simple. If the cut crushes instead of slices, you are using the wrong tool or a neglected one.
Sharp tools are safer for both plant and gardener. Clean cuts heal better, tear less bark, and make it easier to place the cut exactly where you intended. The RHS guide on cleaning hand tools is a good reference if your secateurs currently look like they have been living at the bottom of a damp bucket.
- Wear gloves and eye protection when working inside dense shrubs or any plant with stiff branches.
- Use stable footing and avoid overreaching. If a cut requires awkward body position, reposition first.
- Disinfect blades when moving between obviously diseased areas. The RHS disease-hygiene advice is a useful reminder that dirty tools can spread problems faster than the gardener notices.
- Keep cuts small where possible. Repeated minor correction is usually easier on shrubs than one large rescue cut years too late.
For most home gardens, you do not need specialist theatre. You need clean blades, a steady sequence, and enough restraint to stop before the structure is compromised.
Rules of Thumb: Dead, Diseased, Crossing, Shaping
There is a sensible order to pruning decisions. Follow it, and the plant usually stays readable. Ignore it, and the session turns into guesswork.
1. Remove dead wood first
Dead stems do not improve with time. They shade useful growth, trap debris, and make later cuts harder to place. Cut back to a healthy side branch, a healthy bud, or the base of the dead stem, depending on how the shrub is built. Avoid leaving a long stub. Stubs look temporary but tend to become permanent evidence.
2. Remove diseased or damaged growth second
If a stem is clearly cankered, blackened, split, or otherwise compromised, take it out before you start shaping. This is a health cut, not a cosmetic one. Bag or clear infected material rather than dropping it back into the border, especially in dense evergreen plantings where humidity already helps trouble spread.
3. Thin crossing and inward growth third
When stems rub, one usually has to go. Choose the weaker stem, the one growing inward, or the one spoiling the main framework. The goal is not to hollow out the shrub. The goal is to create cleaner spacing so light and air can move through without the plant turning into a bundle of friction points.
4. Shape last, and lightly
Only after the health and structure cuts are done should you shape the outline. In practice, shaping is often where over-pruning begins. Gardeners see progress, then continue past the point of improvement. A better rule is to step back after every few cuts, view the silhouette from two angles, and stop while the shrub still looks full.
If you are unsure, take less. You can always return for a modest follow-up trim. You cannot ask the plant to reattach what left in the green waste bag.
Spring vs Autumn Pruning: General Guidance
This is where broad categories matter more than rigid dates.
| Season | Usually suitable for | Main caution | Best mindset |
|---|---|---|---|
| Late winter to early spring | General clean-up, structural thinning, stronger correction on vigorous non-flowering shrubs or shrubs grown mainly for foliage | Do not remove flower buds on shrubs that bloom on older wood if display matters | Reset structure before active growth accelerates |
| After spring flowering | Light shaping or size control on shrubs whose display has just finished | Do not wait too long if next season’s buds form on the same stems | Tidy, then let the plant rebuild |
| Autumn | Minor clean-up, removal of damaged growth, gentle correction if weather is still mild and the shrub is healthy | Avoid heavy cutting that encourages tender regrowth or leaves the plant too exposed | Reduce clutter, not canopy |
For many gardens in Marbella and nearby coastal areas, spring is the cleaner window for meaningful pruning because recovery conditions are usually more forgiving than peak summer. Autumn can be fine for modest work, especially after summer stress has passed, but autumn is generally a poor season for aggressive renovation unless you know the plant and its response pattern very well.
The safest general approach is this: if the shrub is flowering and you do not know whether it blooms on old or new growth, restrict yourself to health cuts and very light shaping until you can identify it properly. Flowering performance is often lost by good intentions applied at the wrong point in the cycle.
Two quick examples make the decision easier. If you have an evergreen privacy shrub that is mainly grown for mass and foliage, late-winter thinning or a light spring correction is often more forgiving than a hard autumn cut. If you have a spring-flowering ornamental shrub and the display matters to you, wait until the flowering period has finished and then prune lightly. The first case is about maintaining structure. The second is about not accidentally removing next season’s show.
How to Avoid Over-Pruning
Over-pruning usually comes from three habits: chasing a geometric shape the shrub was not built to hold, trying to correct years of neglect in one visit, or cutting without stepping back to assess the overall framework. None of those habits is unusual. All of them are expensive in plant stress.
Work in passes, not in one sweep. First pass: remove dead, damaged, diseased material. Second pass: thin the obvious crossing stems. Third pass: shape only if the plant still has enough density to support it. This sequence slows you down just enough to make better decisions.
A useful home-garden rule is to avoid removing a large share of live growth in a single session unless you are intentionally renovating a specific shrub and understand the recovery trade-off. If the plant is already heat-stressed, under-watered, recently transplanted, or obviously weak, that threshold should be lower. A shrub in recovery mode is not asking for ambitious styling.
Also avoid “flat outside, congested inside” pruning. Repeated shearing can create a tidy shell around a crowded, shaded centre. The shrub may look under control from the path while becoming thin, woody, and poorly ventilated inside. Occasional selective thinning is what prevents that slow decline.
Decision point: if you feel tempted to keep cutting simply because the pile on the ground still looks small, stop for a minute. The volume of clippings is not a performance metric.
Aftercare: Watering and Mulch
Pruning removes canopy, and canopy affects water use, shade on the root zone, and how exposed the shrub feels in sun and wind. That does not mean every pruned shrub needs a dramatic watering response. It does mean you should monitor the plant for a couple of weeks instead of assuming the job ended with the last cut.
Water according to soil moisture and weather, not ritual. The University of Maryland watering guidance is helpful because it keeps the focus on checking actual moisture depth rather than reacting only to the surface. In warm coastal conditions, the top layer can look dry while the root zone is still adequate, or look fine while the deeper soil has already emptied out.
Mulch is the quieter partner in good aftercare. A moderate layer helps reduce evaporation, softens soil temperature swings, and limits weed competition after pruning has opened the bed. The University of Maryland mulch guide is worth following on one point especially: keep mulch sensible in depth and away from the base of stems. Fresh mulch piled against shrub crowns is not nurturing. It is often just organised moisture trouble.
- Check soil, not just leaves, within a few days after a more substantial prune.
- Do not rush to fertilise unless the shrub has a known feeding need. Excessive push after pruning can drive soft, unhelpful growth.
- Watch exposure changes. A shrub that was heavily surrounded may receive more afternoon sun or wind after adjacent shaping work.
- Keep the root zone steady. Even moisture and modest mulch support recovery better than erratic soak-and-drought cycles.
Common Mistakes and Quick Fixes
Most pruning problems are correctable if you notice them early enough. The key is to shift from “finish the job” to “stabilise the plant.”
Mistake: cutting too late into heat
Quick fix: reduce further pruning, monitor moisture closely, and give the shrub time to re-leaf before doing more cosmetic work.
Mistake: shearing everything to the same outer line
Quick fix: stop shearing for a cycle and switch to selective thinning cuts that open the centre and restore depth.
Mistake: leaving stubs
Quick fix: revisit the cuts and trim them back cleanly to a sensible branching point or healthy bud without tearing bark.
Mistake: moving from a diseased section to a healthy one with the same blade
Quick fix: clean tools immediately, remove suspect debris, and monitor neighbouring plants rather than assuming the problem stayed put.
Mistake: trying to renovate a weak shrub in one session
Quick fix: pause the renovation, focus on health cuts only, improve watering and mulch, and stage any larger correction across future growth cycles.
When a shrub has become extremely woody, sparse at the base, or structurally awkward, the right answer may be a phased renovation plan rather than another generic trim. That is usually the point where a site visit saves time, because the issue is no longer just appearance. It is plant architecture and recovery planning.
A Practical Next Step for Your Garden
Start with one shrub, not the whole garden. Remove only the dead and damaged wood. Then check for crossing stems. Then step back and decide whether shaping is actually necessary. That sequence is slower than casual hedge-trimmer optimism, but it is also how shrubs stay fuller, healthier, and easier to manage across the season.
If you want a second opinion before cutting back established shrubs, use the contact page to request garden help. If you are planning seasonal maintenance more broadly, keep an eye on Gardening News for new practical guides. The best pruning job is usually the one that solves the problem without creating the next one.