Composting on a Small Plot: Simple Setup for a Huerto
A small compost setup does not need ceremony. It needs a container, a dry cover material, and a human being who stops feeding it wet scraps like it is a hungry animal with opinions.
I have watched plenty of small compost systems go wrong for one boring reason: people try to make them look like a big-garden compost heap, then act surprised when the corner of the plot turns wet, sour, and strangely attractive to flies. A small huerto does not need drama. It needs a setup that fits the space, the season, and the amount of kitchen waste you actually produce.
If you want the official version first, the EPA home composting guide and Cornell’s composting basics both make the same unglamorous point: mix food scraps with dry material, keep air moving, and do not drown the pile. That is the whole trick. The rest is just local conditions pretending to be special.
By the end of this article, you will know what belongs in a small compost system, what does not, whether a bin or open pile makes more sense, how to keep the mix balanced, how often to check moisture and turn it, and how to use finished compost without setting off the usual mess of smells, pests, and self-inflicted disappointment.
If you want more practical garden routines after this, browse the publications page or return to the home page for the broader site context. Compost is a chapter, not the whole book.
What Composting on a Small Plot Really Means
Composting is controlled decomposition. You are not throwing waste into a corner and hoping for alchemy. You are feeding microbes a mix of nitrogen-rich material, carbon-rich material, oxygen, and moisture so they can break organic matter down into stable, usable compost.
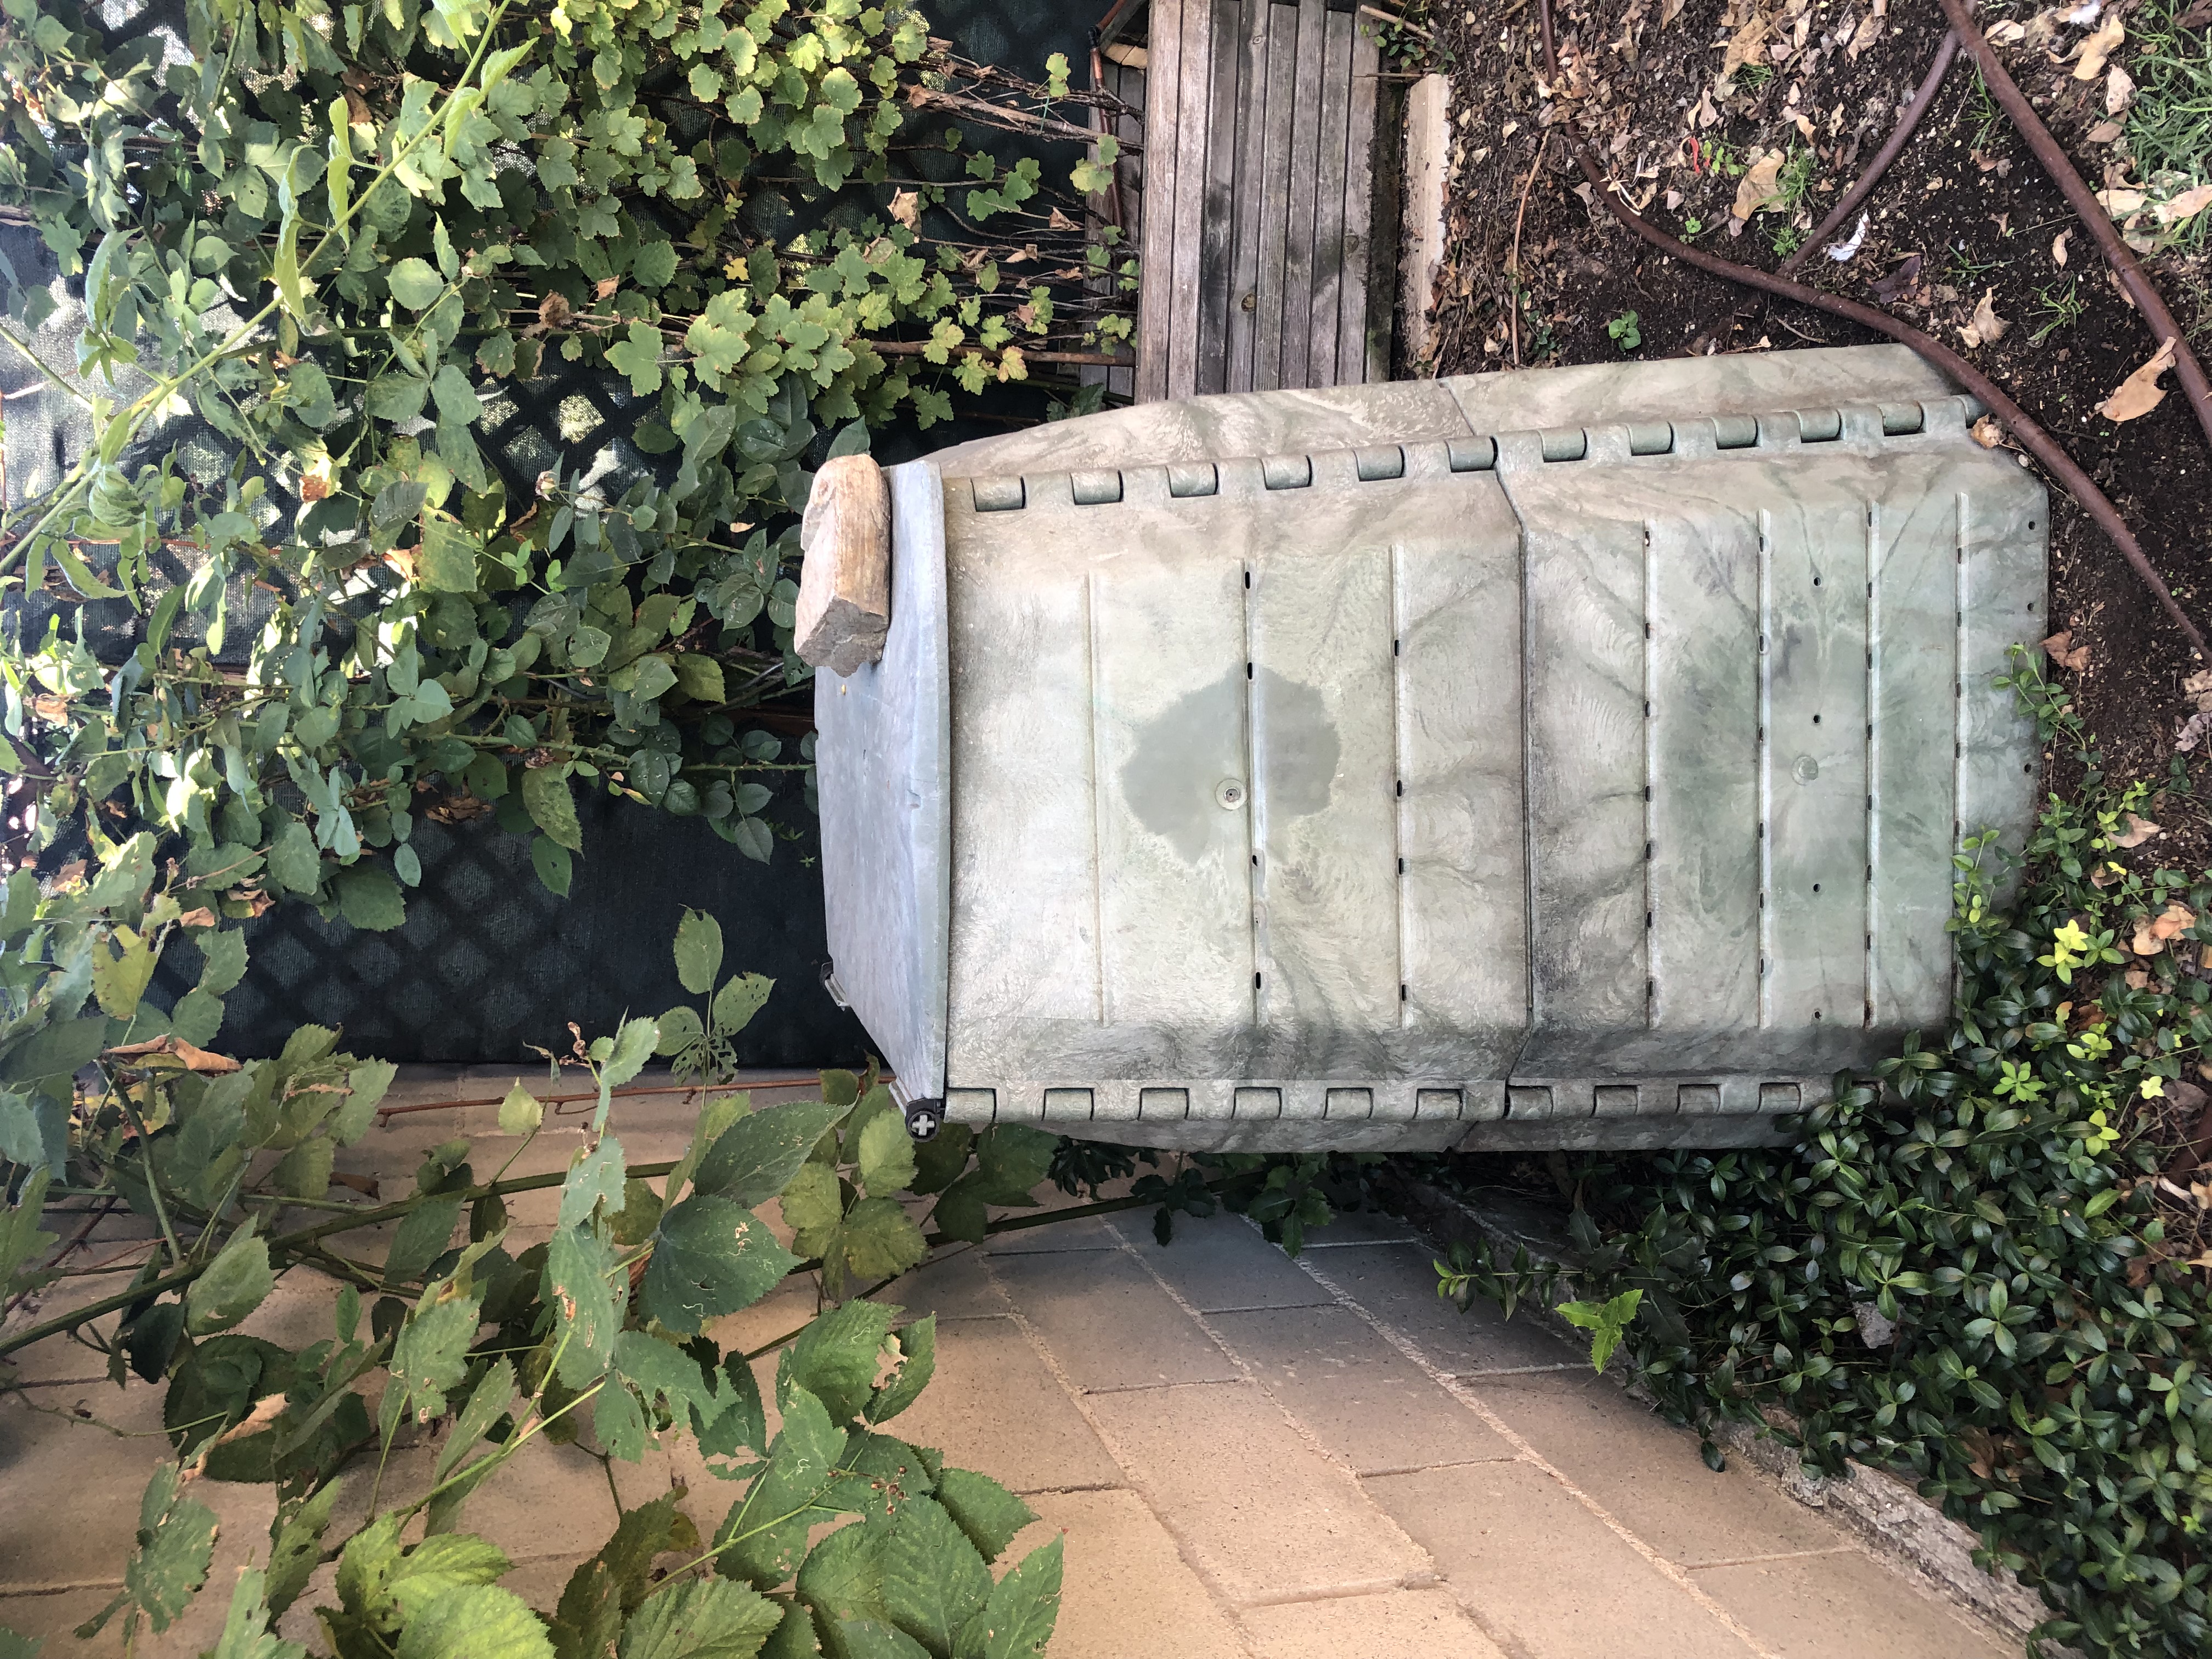
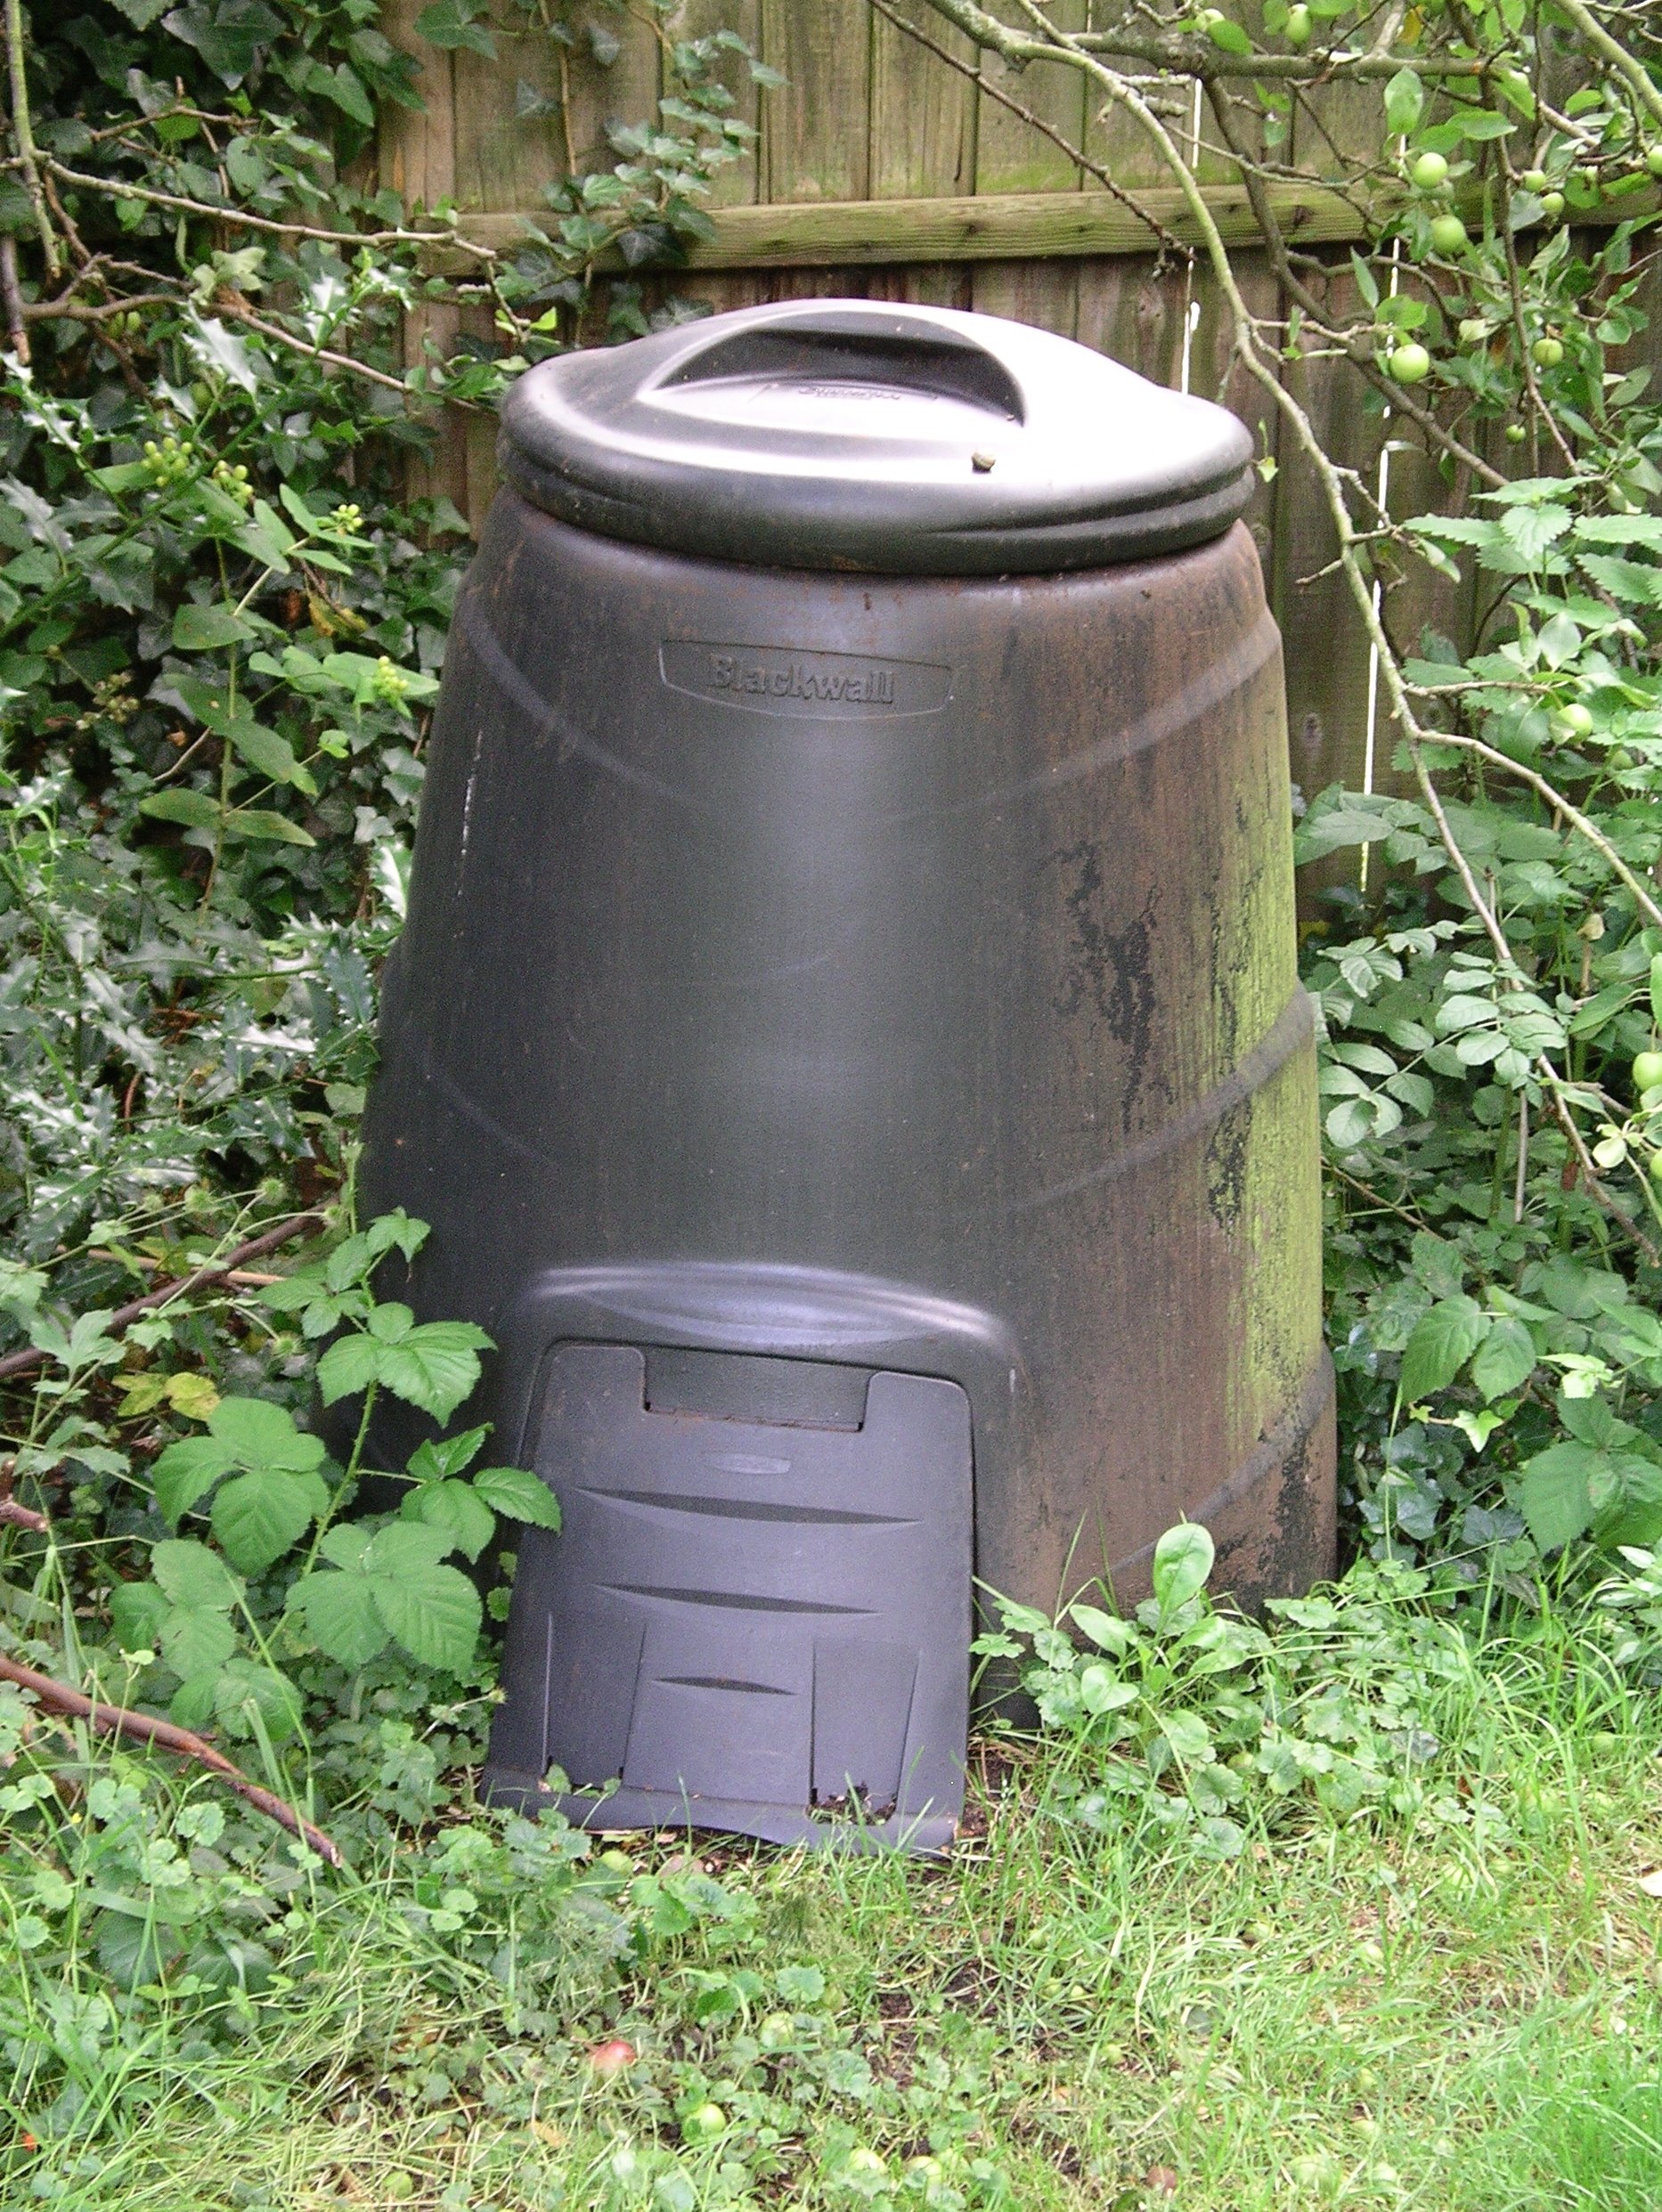
On a small plot, the working rule is simple: the system must fit the waste stream. If you produce two small kitchen caddies a week and a few handfuls of garden clippings, a huge heap is not clever. It is a warm place for water to sit. If you have a small courtyard or a tucked-away corner, a lidded bin or compact bay is usually enough. If you have more room and enough dry material to manage the surface, an open pile can work too.
Here is the part people skip because it sounds too ordinary: composting is less about buying a special device and more about controlling four variables.
- Material mix: keep wet greens and dry browns in balance.
- Air: compost that never gets turned tends to go stale and sour.
- Moisture: damp like a wrung sponge, not soaked like a failed sponge.
- Size: smaller systems need more attention because they change faster.
That last point matters. Small plots do not forgive negligence by becoming philosophical. They just smell faster.
What You Can Compost
Start with the ordinary material most households already produce. You do not need a list from a survival manual. You need clean, simple ingredients that break down without inviting chaos.
| Material | Good for small compost? | Why it helps |
|---|---|---|
| Vegetable peelings and fruit scraps | Yes | They add moisture and nitrogen, but only in modest amounts |
| Coffee grounds and paper filters | Yes | Useful green material with a fine texture |
| Crushed eggshells | Yes, in small amounts | Slow to break down, but fine as a minor addition |
| Dry leaves | Yes | Excellent brown material and easier to manage than most people think |
| Small prunings and soft plant cuttings | Yes | Add structure and carbon if chopped down to a manageable size |
| Shredded cardboard or plain paper | Yes | Helps absorb excess moisture and improve airflow |
If you want a more formal definition of what belongs in a kitchen-and-yard compost system, the Royal Horticultural Society composting guide is useful because it keeps the rules simple instead of theatrical. The short version is that you want plant-based scraps, dry structure, and enough airflow for the whole mess to behave like a system instead of a landfill cosplay project.
For a small huerto, the best additions are usually the easiest to store and the least messy to handle. Chop big scraps into smaller pieces, bury soft fruit under dry material, and keep the top layer covered. That reduces smell and keeps flies from treating your compost corner like a buffet.
What to Avoid
People usually know the obvious no-items, then act confused when they break the obvious rules. Do not do that here.
- Meat, fish, and bones: these bring odor, pests, and a level of attention you do not want.
- Dairy and greasy leftovers: too wet, too rich, too good at causing trouble.
- Oily food scraps: they slow decomposition and make the pile feel sticky.
- Pet waste: not a kitchen-garden input. Stop trying to make it one.
- Diseased plant material: if a plant is clearly sick, do not casually feed it back into the garden.
- Weeds with mature seed heads: unless you enjoy reseeding your own inconvenience.
- Glossy paper, treated wood, or synthetic materials: they do not belong in a home compost setup.
The rule is simple: if the material is likely to smell, attract animals, spread disease, or leave non-organic residue behind, leave it out. Compost is for plant-based refuse, not a test of your tolerance for bad decisions.
Bin vs Pile: Which Method Makes Sense?
For a small plot, I usually start with the question nobody wants to ask out loud: how much maintenance can you actually tolerate? The answer matters more than the romance of the method. A neat bin works better for many people because it is easier to cover, easier to hide, and less likely to turn into a wild edge-of-yard experiment.
| Method | Best for | Downside |
|---|---|---|
| Closed bin | Small spaces, faster odor control, tidier look | Can get too wet if you keep adding soft scraps without enough brown material |
| Open pile | More space, easy turning, large amounts of garden waste | Needs more attention and is easier for pests to notice |
| Simple two-bin setup | People who want one active bay and one resting bay | Takes more room than a single bin |
| Contained corner bay | Huertos with a quiet side yard or service corner | Requires a bit of structure to stay tidy |
If you want the low-drama answer, choose a bin or small contained bay. It keeps the heap neater, makes it easier to add browns on top, and reduces the temptation to treat the pile like an outdoor trash can. If you already have a steady stream of dry leaves or shredded garden waste, an open pile becomes more realistic. Without that dry cover, open piles tend to get lazy and wet.
The best method is the one you will actually maintain in warm weather, after the novelty wears off. A brilliant compost strategy that fails every Thursday is still a failed strategy.
Greens and Browns: The Part Everyone Pretends Is Complicated
It is not complicated. You just need to stop thinking in terms of mysterious compost magic and start thinking in terms of texture. Greens are the wet, nitrogen-rich materials. Browns are the dry, carbon-rich materials. If the pile is all greens, it sinks, smells, and turns sticky. If it is all browns, it sits there like a dry apology and does almost nothing.
| Greens | Browns | Easy rule |
|---|---|---|
| Kitchen peelings, coffee grounds, soft clippings | Dry leaves, shredded cardboard, dried plant stems | Use about two to three parts browns to one part greens by volume when in doubt |
That ratio is not sacred law. It is a practical starting point. If your pile is too wet, add more browns. If it is too dry and nothing is moving, add a little more green material and moisture. Compost does not care about your idealism. It responds to the materials in front of it.
A good small-plot habit is to keep a dry stash beside the bin: a bag of shredded cardboard, a basket of leaves, or a sack of chopped dry prunings. That way, every time you tip in kitchen scraps, you can cover them immediately. Covering them is boring. Boring works.
If you are new to the idea, the phrase to remember is simple: wet needs dry, and dense needs airy. Most compost problems are just one of those two rules being ignored for too long.
Moisture and Turning: The Routine That Keeps It Alive
Moisture is where a lot of beginners accidentally sabotage themselves. They either keep the pile too wet because they assume decomposition needs constant soaking, or they let it dry out because they forget that microbes are not desert statues. The target is simple: damp, not swampy.
The easiest test is the squeeze test. Take a handful from the center of the pile and squeeze it.
- If it drips water, it is too wet.
- If it falls apart like dry dust, it is too dry.
- If it feels damp and only a drop or two appears, you are close to the right range.
Turning is the other half of the job. You do not need a spiritual relationship with the fork. You need a routine. On a small plot, turning every one to two weeks is often enough if the mix is balanced. If the pile starts to compress or smell stale, turn it sooner. If it already has good structure and is breaking down evenly, do not obsess over it.
In hot, dry weather, a small heap can lose moisture quickly. In damp weather, it can slide in the opposite direction and become heavy. That is why a bin with a lid or a cover of brown material matters so much: it slows the extremes down. It also gives you fewer excuses to ignore the pile.
For a more formal composting overview, the EPA and Cornell pages above are still useful because they keep repeating the same mechanical truth from different angles. No one is selling a miracle there, which is a relief.
Using Finished Compost Safely in Beds
Finished compost should look dark, crumbly, and earthy. If it still resembles the original scraps, let it keep working. Half-finished material is not a moral failing, but it is not ready for the bed either. Use patience instead of pretending the pile is done because you are tired of looking at it.
When the compost is ready, use it in the beds with restraint.
- Top-dress lightly: spread a thin layer over the soil instead of burying plants under it.
- Keep stems clear: do not pile compost directly against trunks or tender stems.
- Blend into poor soil gradually: small repeated additions are safer than one heavy dump.
- Use it after watering: a slightly moist bed helps the material settle without flying around in dry wind.
If you want a practical guide to using compost and mulch together, the NRDC composting primer is a solid reminder that compost is not just about disposal. It is about returning stable organic matter to the soil in a way that helps roots instead of smothering them. That is the useful part. The rest is noise.
On a small plot, the easiest mistake is to use too much finished compost at once because it feels productive. More is not always better. A thin, regular application usually does more good than a heavy one that changes the soil texture too abruptly.
Troubleshooting Smells and Pests
If the compost smells wrong, do not invent a complicated theory. Symptoms tell you a lot. Most bad smells come from too much moisture, too much nitrogen, or too little air. Most pest problems come from exposed food scraps, especially fruit, dairy, and greasy leftovers. The fix is usually boring, which is why people avoid it.
| Symptom | Likely cause | What to do first |
|---|---|---|
| Strong sour or rotten smell | Too wet, too many greens, not enough air | Add dry browns, turn the pile, and stop adding soft scraps until it recovers |
| Ammonia or sharp yard-waste smell | Too much nitrogen-rich material | Mix in more browns and check whether the top layer is being covered properly |
| Flies around the pile | Exposed food scraps or wet surface layer | Bury kitchen scraps under dry material and keep the top covered |
| Ants, mice, or bigger pests nearby | Food too exposed or pile too dry and open | Remove prohibited materials, close the pile, and avoid greasy scraps |
| Nothing seems to decompose | Too dry or too brown-heavy | Moisten lightly, add a little green material, and turn the pile |
Do not chase smells with chemicals. Do not pour random products onto the heap. Do not pretend a quick scent fix is the same thing as a functioning compost system. You are trying to restore balance, not wage war on organic matter. Balance the ingredients, correct the moisture, and give the pile air.
If a problem keeps coming back after you correct the basics, the issue is probably structural: the bin is too small, the location is too wet, or the material stream is poor. That is when the design needs changing, not just the routine.
A Three-Step Weekly Routine
Small compost systems do best with a routine that is short enough to repeat. If you want something usable, use this:
- Collect and cover. Put kitchen scraps into the bin, then cover them with a dry brown layer. If you cannot cover them immediately, keep them in a caddy until you can.
- Check and adjust. Once a week, check the top layer, squeeze-test the center, and add browns if the mix looks wet or compacted. Turn the pile if it is starting to settle.
- Record one note. Jot down whether the pile was too dry, too wet, or balanced. A tiny record helps more than memory, which is a famous liar.
If you manage more than one property or want a shared task record, a work order management software builder can keep recurring jobs and notes from disappearing into the usual notebook graveyard. That is not a compost solution. It is just a practical way to stop routine work from vanishing.
The point of the weekly routine is not perfection. It is consistency. Compost rewards the person who keeps showing up with dry material, a fork, and a little restraint.
A Simple Starter Recipe
If you want a low-risk starting point for a small bin, use this as a model and adjust from there.
- One small bucket of kitchen scraps over the course of the week
- Two to three buckets of dry browns
- One quick turn or fork-through to keep the pile open
- Enough moisture to feel damp, not dripping
- Top cover of leaves, shredded cardboard, or dry prunings after every addition
If your source material is mostly soft vegetable peelings and coffee grounds, you will need more browns than you think. If your material stream is mostly dry prunings and leaves, you may need a little more green material or a splash of water. The pile will tell you what is missing. You just have to stop assuming.
When to Use Compost, and When to Wait
Use compost when it is finished. Wait when it is not. That sounds almost insultingly simple because it is almost insultingly simple. But it is also the point most people skip.
Use the pile when the texture is crumbly, the smell is earthy, and the original scraps are no longer obvious. Wait if the heap still has visible food waste, a sharp smell, or hot, compacted pockets that have not cooled down properly. Partially broken-down compost can still be valuable later, but it should keep working before it goes into a bed that you expect to perform normally.
A decent rule for small plots is to use finished compost as a light seasonal amendment rather than a constant obsession. Add it to beds before planting, top-dress around established plants, or mix it into tired soil in moderation. Then leave the system alone long enough to do the work.
Closing Rule
If you remember nothing else, remember this: a small compost setup succeeds when it stays boring. Keep out the wrong materials, cover the wet scraps, add dry matter on purpose, and check moisture before you panic. That is the real system. Everything else is decoration.
If your huerto has odd drainage, a tight corner, or a setup that keeps drifting into smell territory, use the contact page and describe the space instead of asking for magic. Space, moisture, and material mix are the real suspects. Start there, and the pile usually stops misbehaving.
Key Takeaways
- Use a small bin or contained bay if you want less mess and fewer odors.
- Keep browns and greens in balance, with extra dry material available at all times.
- Moisture should be damp, not wet.
- Turn the pile on a simple schedule instead of waiting for a crisis.
- Use finished compost lightly and keep it off stems and trunks.